It’s an accessibility-focused feature designed to help Chromebook users with motor impairments. This tutorial covers everything about enabling, using, and customizing the built-in auto-clicker on your Chromebook.
How to Enable Auto-Clicker on Chromebooks
Your Chromebook will select items or perform a left click when the mouse pointer stops moving. Point your cursor to the item you want to click/select and wait for a second.
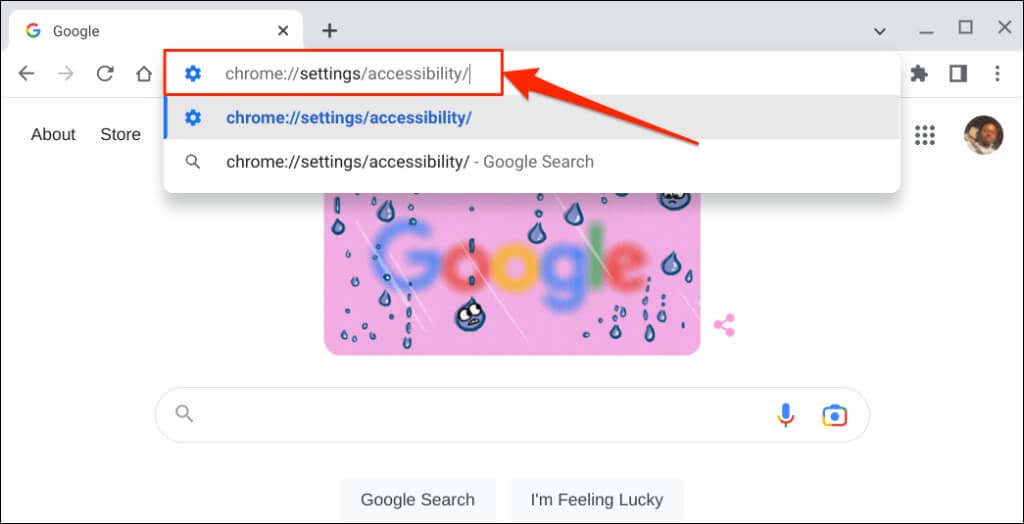
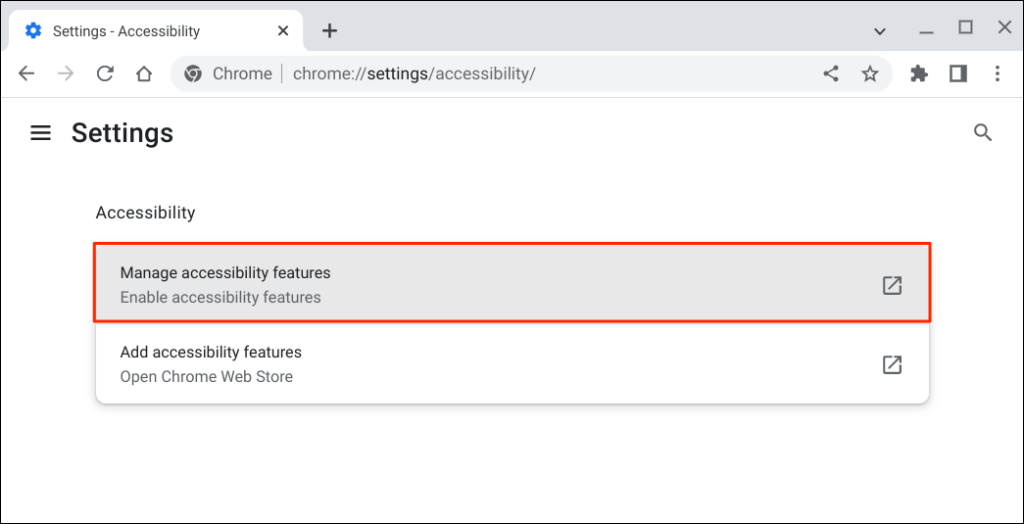
Enable Auto-Clicker through Google Chrome
You can also enable the automatic clicker through your Chromebook’s browser.
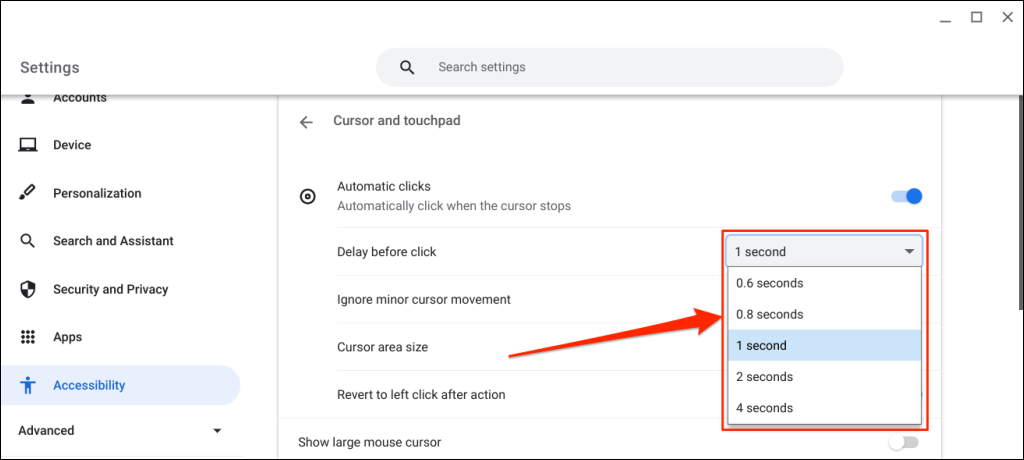
Change the Auto-Clicker Delay
By default, the ChromeOS auto-clicker acts after a one-second delay. You can extend or reduce the delay to your preference on the “Cursor and touchpad” settings page. Turn on Automatic clicks, expand the “Delay before click” drop-down menu, and choose how long your Chromebook pauses before performing an auto-click action.
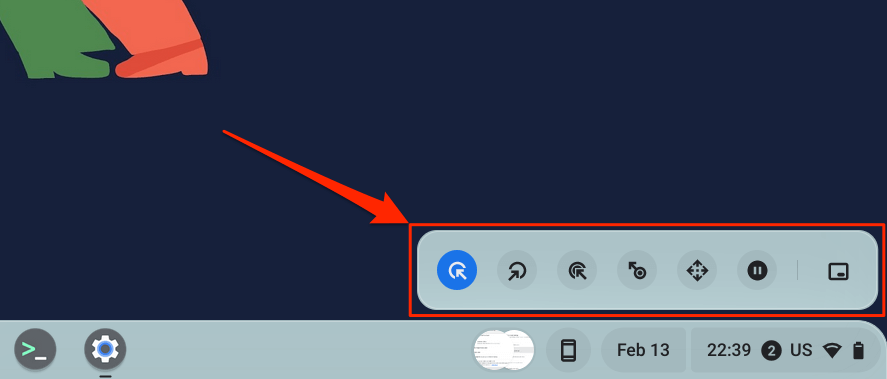
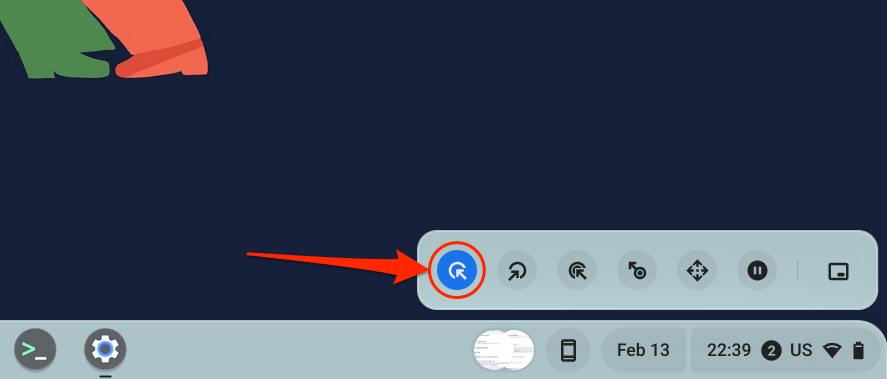
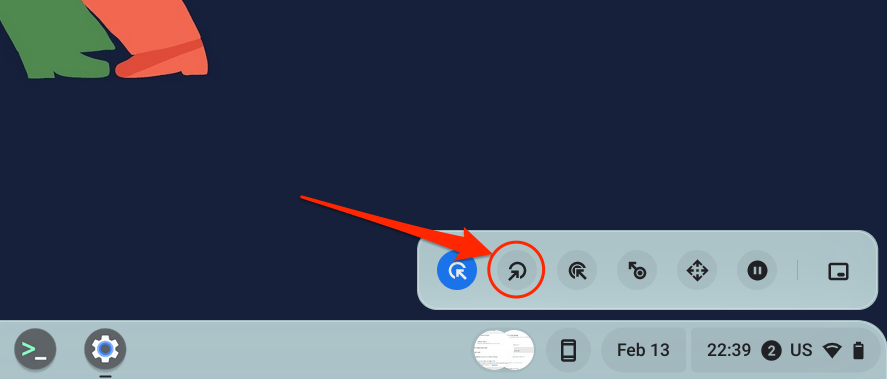
The Floating Auto-Clicker Menu
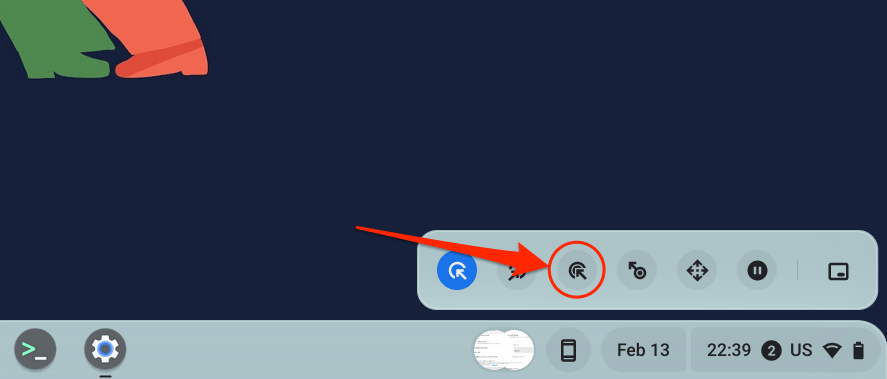
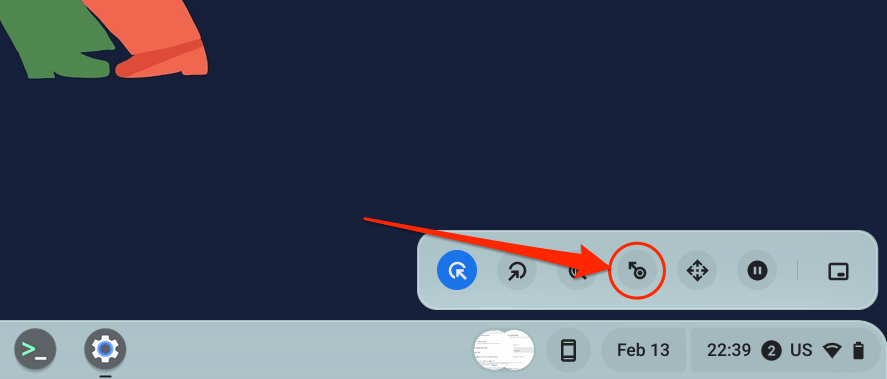
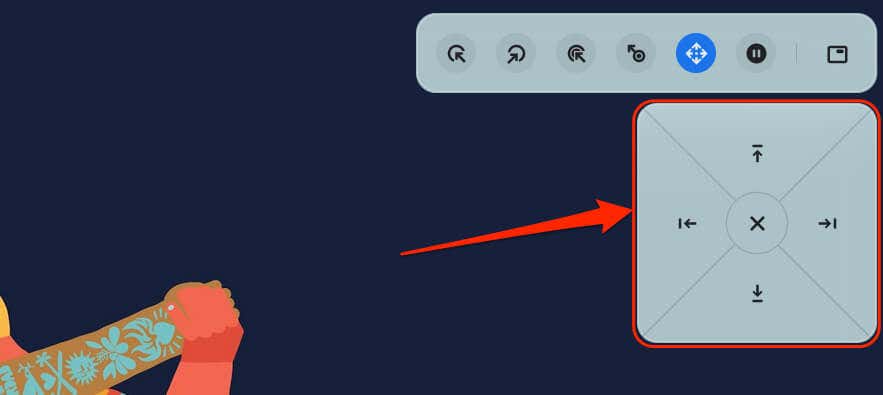
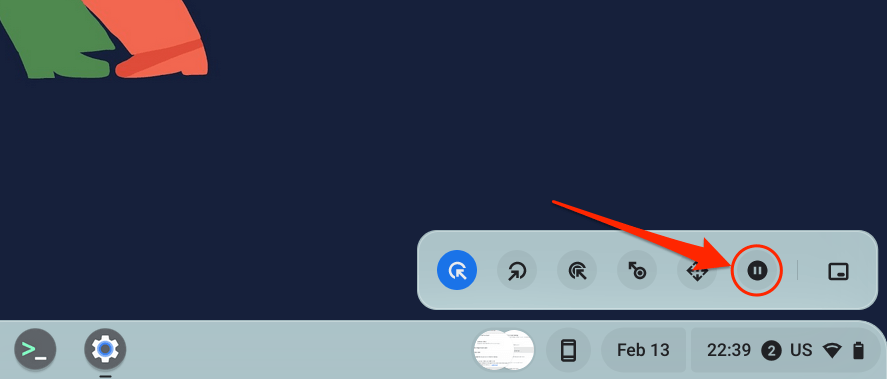
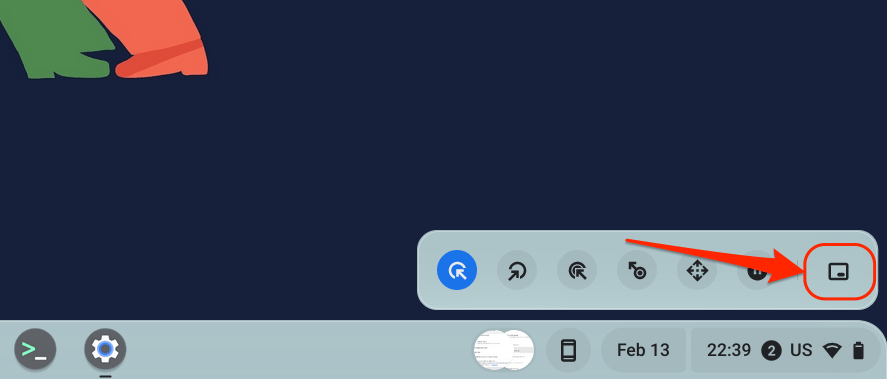
A floating auto-clicker menu appears in the bottom-left corner of your Chromebook’s screen when you turn on “Automatic clicks.” The menu packs the following types of clicks and actions: Place your cursor on the page or app you want to navigate and wait for the auto-click delay. Afterward, hover your cursor on the left/right/up/down arrow keys or scroll options to navigate the page. Finally, press the X icon in the middle to close the navigation bar—the auto-clicker reverts to the left-click option.
Customize Auto-Click Settings
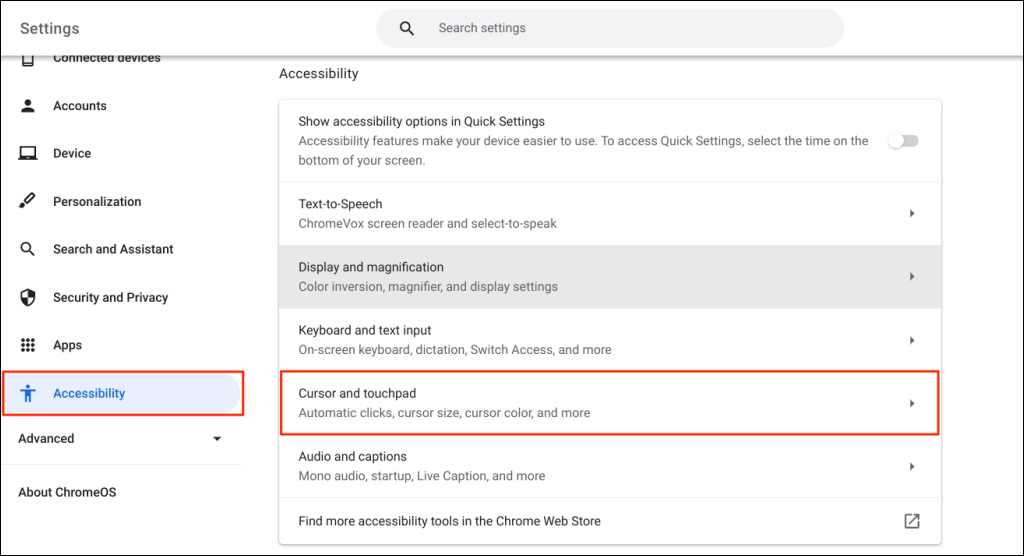
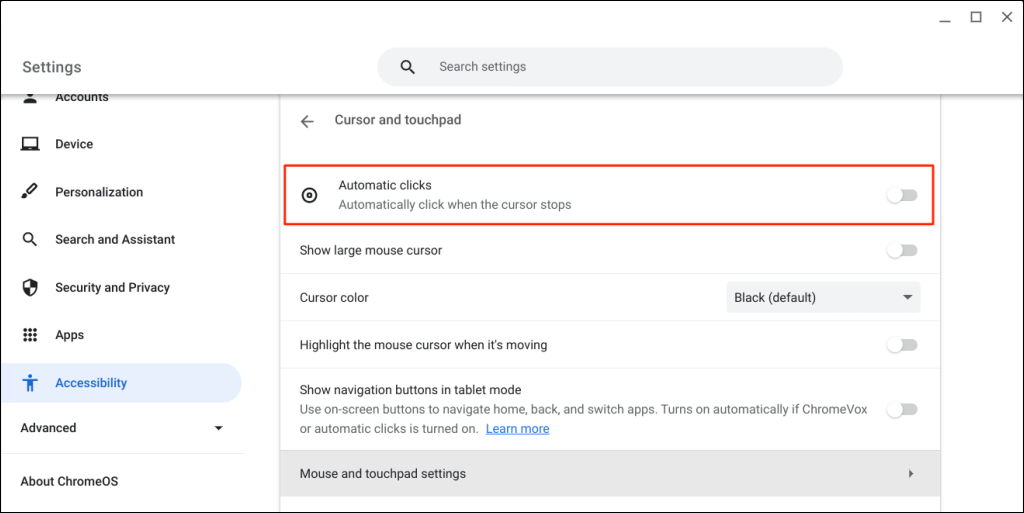
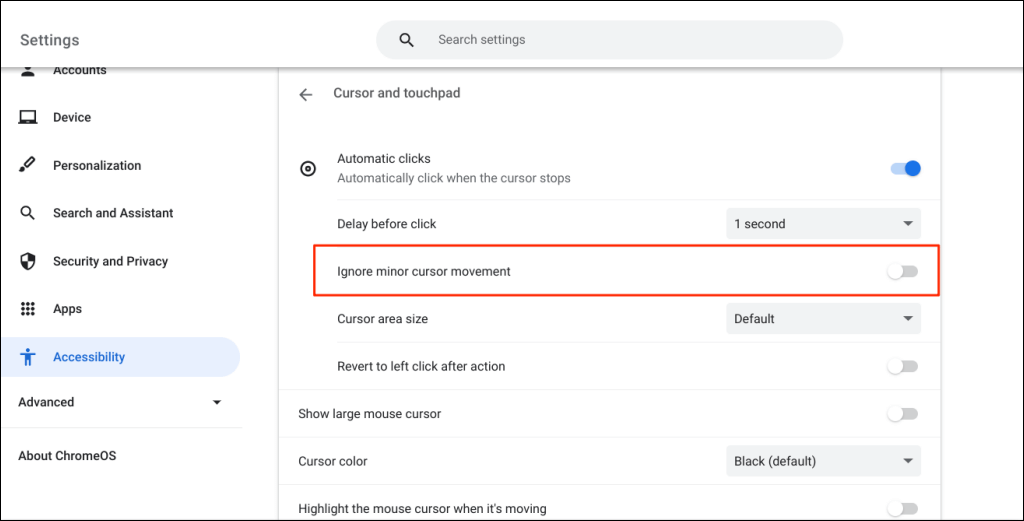
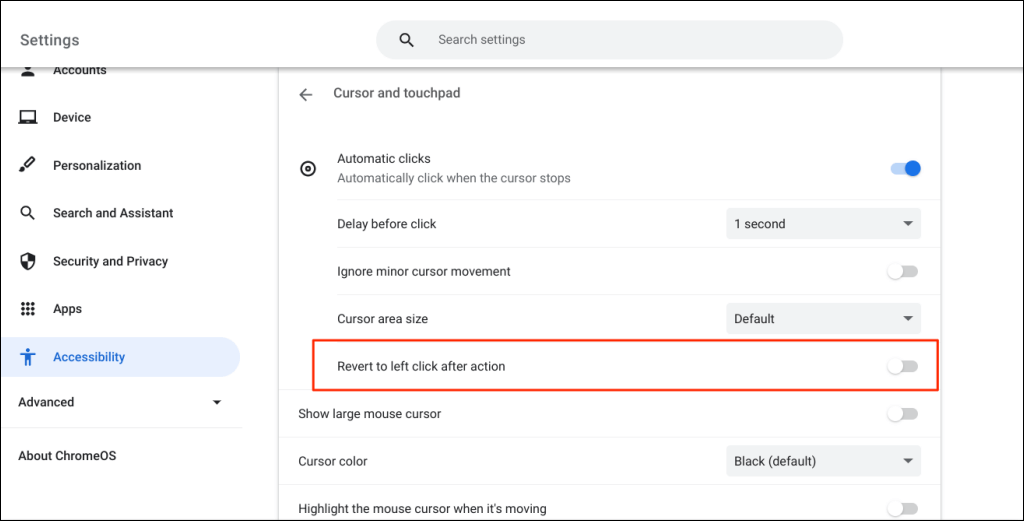
In addition to increasing or decreasing the auto-click delay, there are other ways to configure your Chromebook’s auto-clicker. Enable Automatic clicks in your Chromebook’s settings (Settings > Accessibility > Cursor and touchpad) and explore these automatic click features:
Disable Your Chromebook’s Auto-Clicker
Want to turn off the auto-click tool? Head to Settings > Accessibility > Cursor and touchpad and toggle off Automatic clicks.
Enjoy Stress-Free Navigation
Share this tutorial with any Chromebook users with motor impairments or related disabilities. They’ll thank you for it. Restart your Chromebook or update its operating system if you have trouble enabling or using the auto-clicker tool.